Getting Started with Auth0 in ASP.NET
Getting Started with Auth0 in ASP.NET
In this tutorial, we're going to go over how to very quickly add secure Google authentication to your ASP.NET project using the Auth0 service. You'll see how easy it can be to create a useable web app that includes a way to login to your user account!
What is Auth0?
Auth0 provides a well-known standard in authentication services, and can be added to existing web apps, such as those made in ASP.NET. To learn more and sign up, visit their website: https://auth0.com/
Why would you want to add authentication to your ASP.NET project?
There are a huge number of use cases for authentication. We won't go beyond simply adding the authentication to a minimal API in this tutorial, but working with external authentication services is a great skill to learn for any website where you might want users to quickly login using a SSO (Single Sign On) without needing to create a new account. This keeps your website secure while lowering the barrier to entry. It can help you to give easy access to online shopping, social media, paywalled content, online games, and more.
Making a project:
Let's make a new minimal project in ASP.NET. This will be a little different than my tutorial on making a basic REST API endpoint in ASP.NET, but please also check out that tutorial if you'd like to know more about REST APIs. This tutorial will be using Visual Studio Community 2022, and .NET 6.0 Long Term Support.
Before getting started, you should sign up for an Auth0 account. Nothing special is needed here; just follow their regular sign-up procedure, and go through their introduction if you're a new user. They provide a sample project in their new-user walkthrough, but it uses .NET 5.0, which is now out of support, so that's why we're making a new sample project for you in .NET 6.0, and showing all of the steps -- this way, you'll have a better understanding of what's going on.
Also note that this is being done in Visual Studio's GUI not just to help you follow along, but because doing things with the command line in a tutorial can sometimes be deceptive, as options which are enabled by default may not always be apparent. Seeing those options in the GUI can help you to realize if something is different in your project or your version of the IDE.
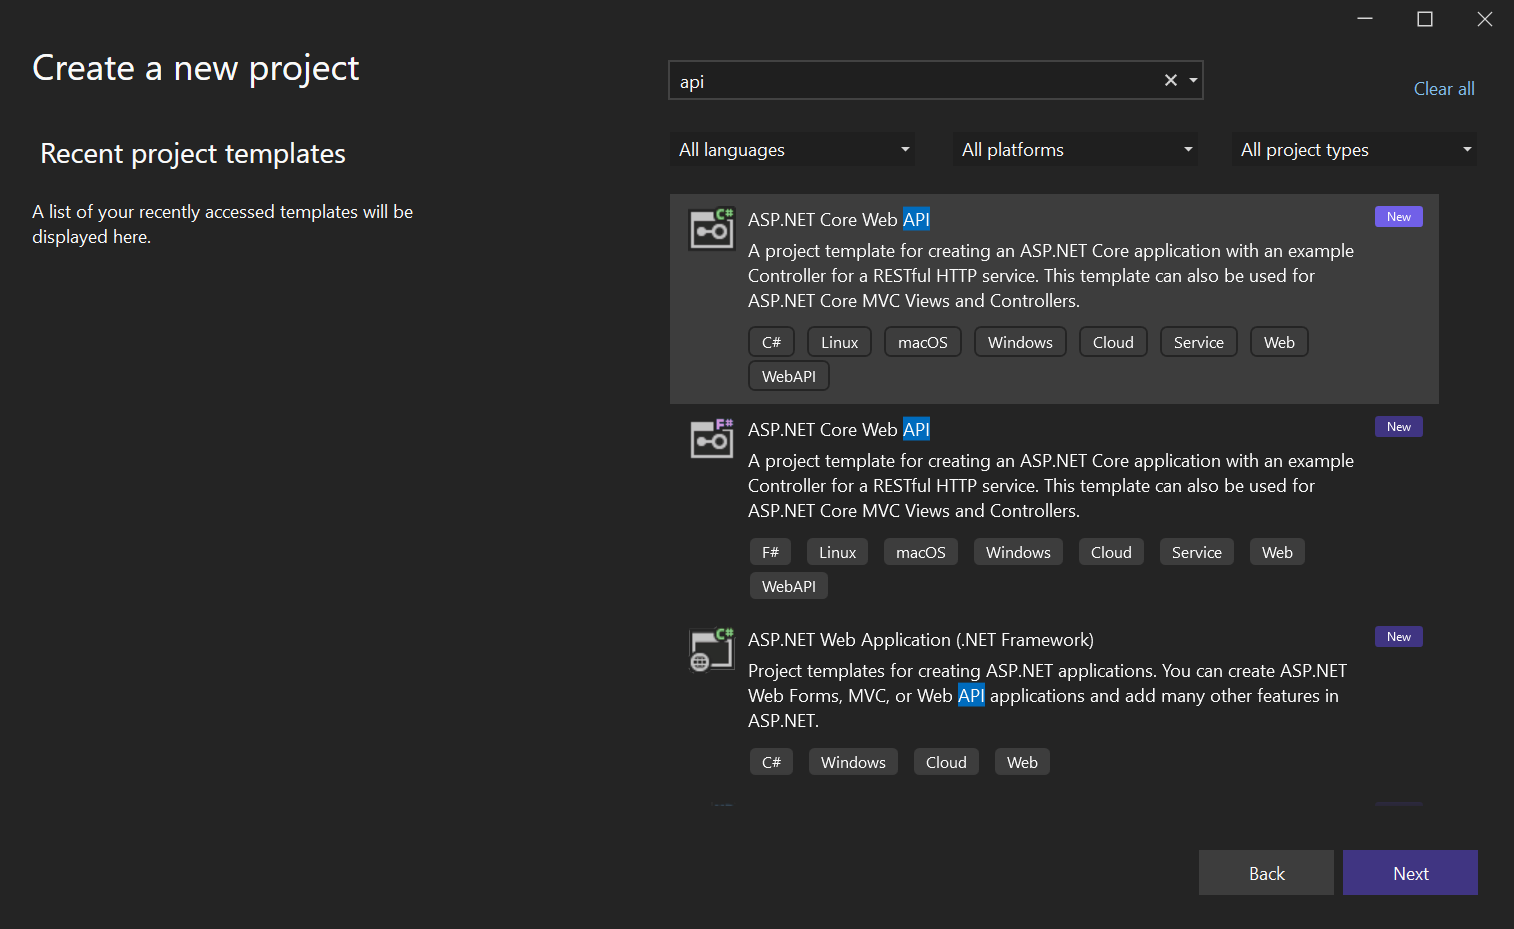
First, create a new ASP.NET Core Web API project.
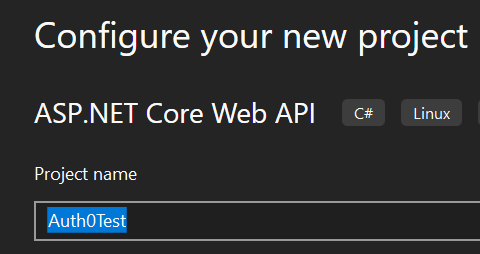
My sample project is named Auth0Test, but use any name that you wish here.
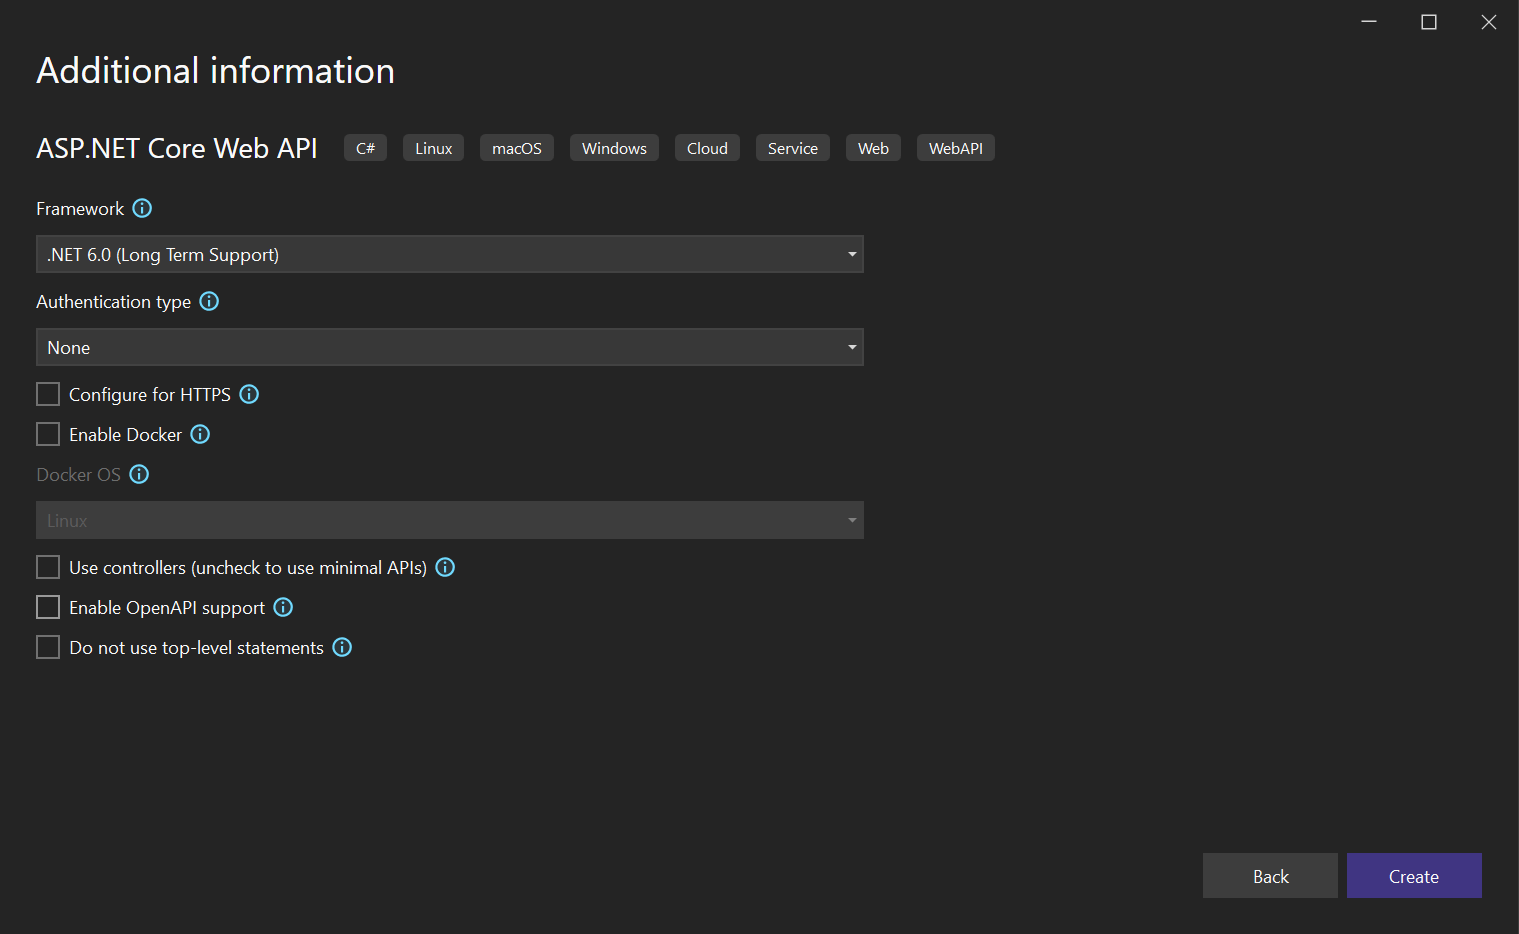
Pick .NET 6.0 (Long Term Support) as your Framework. Look carefully at the other options: to make this project a minimal API, be sure that nothing else is checked here, and that Authentication is set to None. Click Create after everything is unchecked.
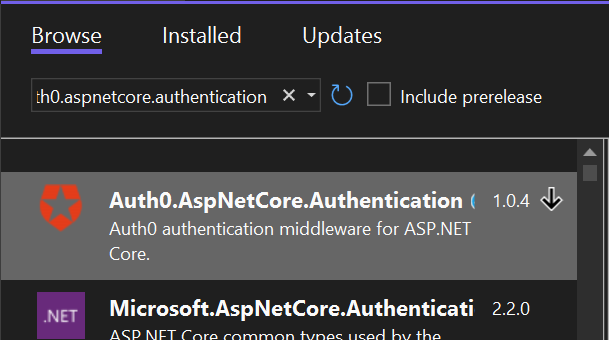
Our project has been made! Now, to prepare the packages for the code which we're going to add. In the menu bar, navigate to Project -> Manage NuGet Packages... an then go to the Browse tab. In the Search field, type in Auth0.AspNetCore.Authentication -- you should see something like this (the version may change after this tutorial is published). This is important, as you may see other things which look similar will come up, but this exact one is what you want for this tutorial. You may have to scroll up or down in the list to see it if it's not the first result. Click Install.
Now, we can get to some coding! First, let's build our minimal REST API app. In the Solution Explorer, navigate to Program.cs and replace any existing code with this:
using System.Net;
var builder = WebApplication.CreateBuilder(args);
builder.Services.AddControllersWithViews();
var text = "Hello World!";
var app = builder.Build();
app.UseDeveloperExceptionPage();
app.UseRouting();
app.UseEndpoints(endpoints => {
    endpoints.MapGet("/", () => "/read Reads the text\n/write?new_text Writes the text to be read.");
    endpoints.MapGet("/read", () => text);
    endpoints.MapGet("/write", context =>
    {
        if (context.Request.QueryString.HasValue)
        {
            text = WebUtility.UrlDecode(context.Request.QueryString.Value?.Substring(1));
        }
        context.Response.Redirect("/read");
        return Task.CompletedTask;
    });
});
app.Run();
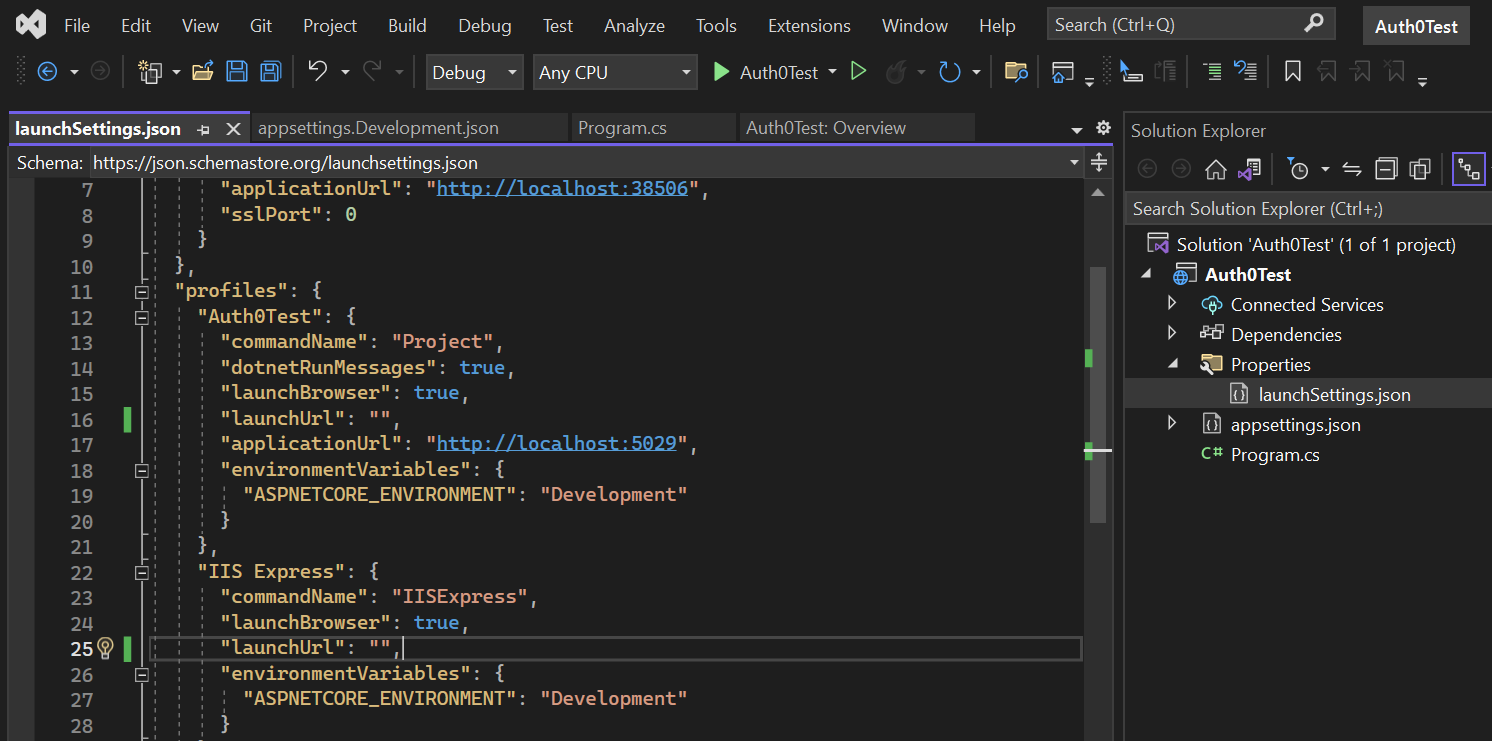
This is some simple code to get us started. However, if you click the green arrow to run the application as it is right now, it'll take you to a page that's either blank or not found, depending on your browser. Look at the URL, and note that it's taking you to /weatherforecast. This is a remnant of the default sample code which is created when you start a new project. Let's change this by going to the Solution Explorer and going into Properties -> launchSettings.json and adjusting the two "launchUrl" values, one under "profiles" and the other under "IIS Express". Set both to be blank, like this:
"launchUrl": "",
Now, it should look like this:
If you press the run button again, you should now see in the browser that the URL is only going to localhost:#### and that the page says:
/read Reads the test
/write?new_text Writes the text to be read.
Alright, the endpoint is working!
Adding authentication with Auth0:
On to the fun part: getting the authentication working! It's time to do some setup on Auth0's website with the account which was created.
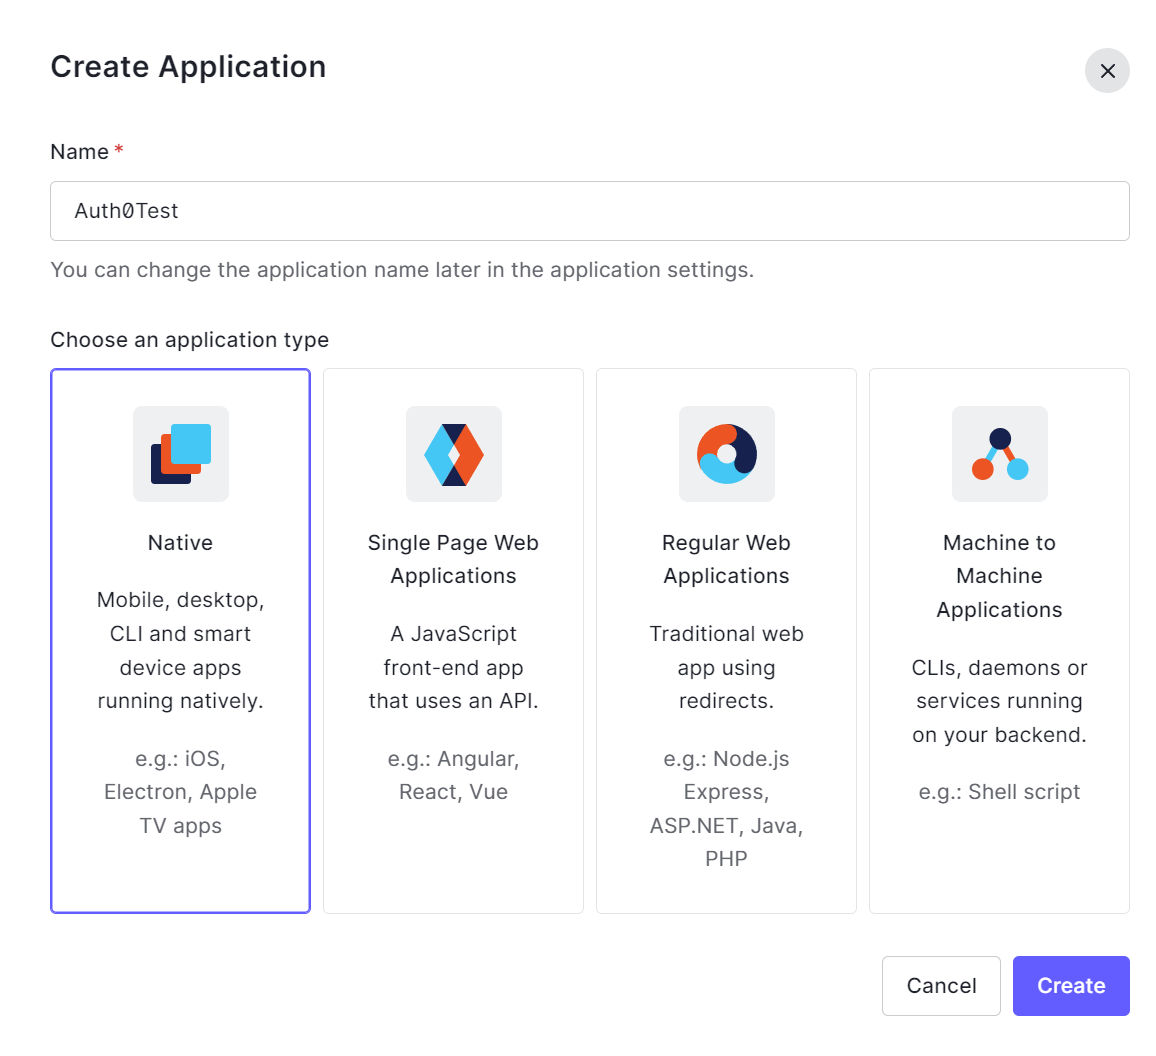
You should start by logging in and creating an application. Choose Native as the application type.
Then, navigate to the Settings tab, and take note of the information here, because this will be used soon.
Let's go back to Visual Studio and add some code. Here's what the finished product should look like:
using Auth0.AspNetCore.Authentication;
using Microsoft.AspNetCore.Authentication;
using Microsoft.AspNetCore.Authentication.OAuth;
using System.Net;

var builder = WebApplication.CreateBuilder(args);

builder.Services
    .AddAuth0WebAppAuthentication(configureOptions =>
    {
        configureOptions.CallbackPath = new PathString("/logged-in"); // URL must be added to API settings, for example: http://localhost:5092/logged-in

        // These should be in another file (such as appsettings.json) and loaded into this one, but for simplicity they are being hard coded.
        configureOptions.ClientId = "l2DofA5ooVteRXwoYEVPSZ8cEu6CSASX";
        configureOptions.ClientSecret = "21yH9ajaCCJL_i0fUHU2mM8DLELIZC1Rz3Fi-JWASPylE4S_bNdFGTSplZsfphYG"; // Always keep hidden.
        configureOptions.Domain = "dev-egllimpvthky2sob.us.auth0.com";
    });

builder.Services.AddControllersWithViews();

var text = "Hello World!";

var app = builder.Build();

app.UseDeveloperExceptionPage();

app.UseRouting();

app.UseAuthentication();
app.UseAuthorization();

app.UseEndpoints(endpoints => {

    endpoints.MapGet("/", () => "/read Reads the text\n/write?new_text Writes the text to be read.");

    endpoints.MapGet("/read", () => text).RequireAuthorization();

    endpoints.MapGet("/write", context =>
    {
        if (context.Request.QueryString.HasValue)
        {
            text = WebUtility.UrlDecode(context.Request.QueryString.Value?.Substring(1)); // Remove the ? at the start of the query string.
        }
        context.Response.Redirect("/read");
        return Task.CompletedTask;
    }).RequireAuthorization();

    // Default ASP login path.

    endpoints.MapGet("/Account/AccessDenied", context =>
    {
        context.Response.Redirect("/");
        return Task.CompletedTask;
    });

    endpoints.MapGet("/Account/Login", async context =>
    {
        var authenticationProperties = new LoginAuthenticationPropertiesBuilder()
        .Build();

        await context.ChallengeAsync(Auth0Constants.AuthenticationScheme, authenticationProperties);
    });

    endpoints.MapGet("/Account/Logout", async context =>
    {
        var authenticationProperties = new LogoutAuthenticationPropertiesBuilder()
        .Build();

        await context.ChallengeAsync(Auth0Constants.AuthenticationScheme, authenticationProperties);
    });
});

app.Run();
There are many changes made all throughout the code there, so take a moment to compare this to the earlier code in this tutorial to see what's changed and familiarize yourself.
Note that there are a few spots left blank in the code (filled with X's); these are going to be unique to your Auth0 application details, and can be filled in with the information which you'll find in the aforementioned Settings tab, namely the Domain, Client ID, and Client Secret.
Next, scroll down to Allowed Callback URLs and insert your localhost URL with "/read" appended, like http://localhost:####/logged-in -- this is telling Auth0 which URL will be used after authentication.
If you launch your web application now, you'll still see the same page as earlier. It's time to return to launchSettings.json and fill in those blank "launchUrl": "" spots with "launchUrl": "read" -- now, if you launch your app again, something fun should happen.
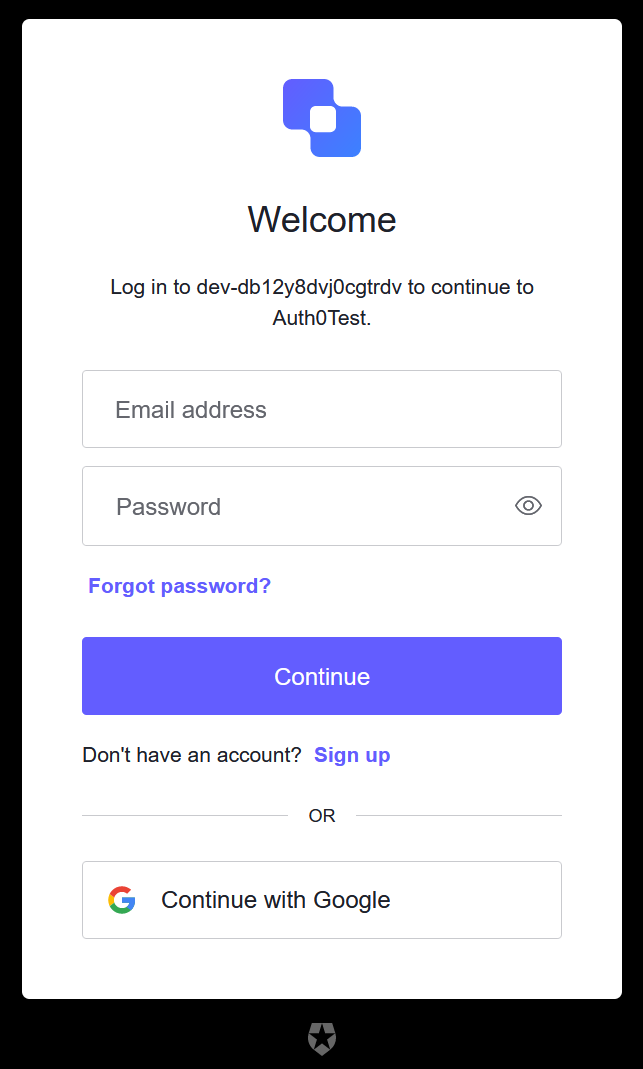
There's the screen to login! You can try it with Google, and see how it works.
Now, when you return to http://localhost:####/read, you should see Hello World!
You might have also noticed the message earlier in the code and on the page about the ability to write new text with the API as well. Have fun playing with that to see how it works!
That's it for doing a basic Auth0 login. There's all kinds of places to go from here with your web app, so go experiment!